This tutorial demonstrates how Zend Studio and the Zend Developer Cloud are tightly integrated to facilitate a seamless and highly-efficient application development process. You can create a new deployed Zend Developer Cloud project, or import an existing Zend Developer Cloud project into your workspace. Zend Studio also allows you to easily connect and interact with your Zend Developer Cloud MySQL database.
In this tutorial you will learn:
To better understand the procedures described in this tutorial, watch this video:
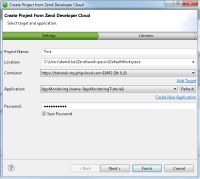
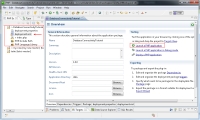
We will first create a new Zend Developer Cloud project . This procedure will create a new application, deploy it to our Zend Developer Cloud Container and create a new project in our workspace.
|
|
|
To create a new Zend Developer Cloud project:
Note: The script in this code connects to the Container's MySQL database using the mysqli_connect PHP function, and inserts entries in the 'example' table (Step 2).
|
|
Each Zend Developer Cloud Container is provided with a database instance that can be used as back-end storage for your PHP applications. The database instance is fully compatible with MySQL 5.1, and you can create multiple tables within the one schema (database) provided to you.
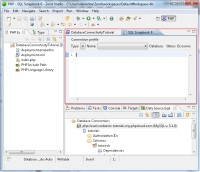
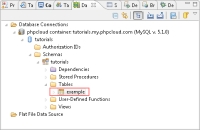
We will now establish a connection with our Container's MySQL database and create a new table from within Zend Studio.
|
|
|
To connect to the Container database:
|
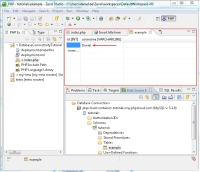
The SQL Results view is displayed, showing the status of the SQL operation. |
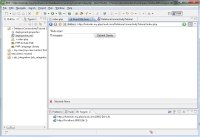
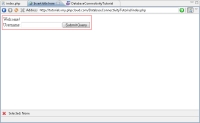
We will now validate the newly established connectivity by simulating interaction between our application and the database.
|
|
|
To validate connectivity with the Zend Developer Cloud database:
|
Your connection to the Zend Developer Cloud database has been validated. For more information on connecting to, and working with,databases in Zend Studio, see Connecting to Databases |
|
|
|
Related Links: |
|
|
©1999-2012 Zend Technologies LTD. All rights reserved.